
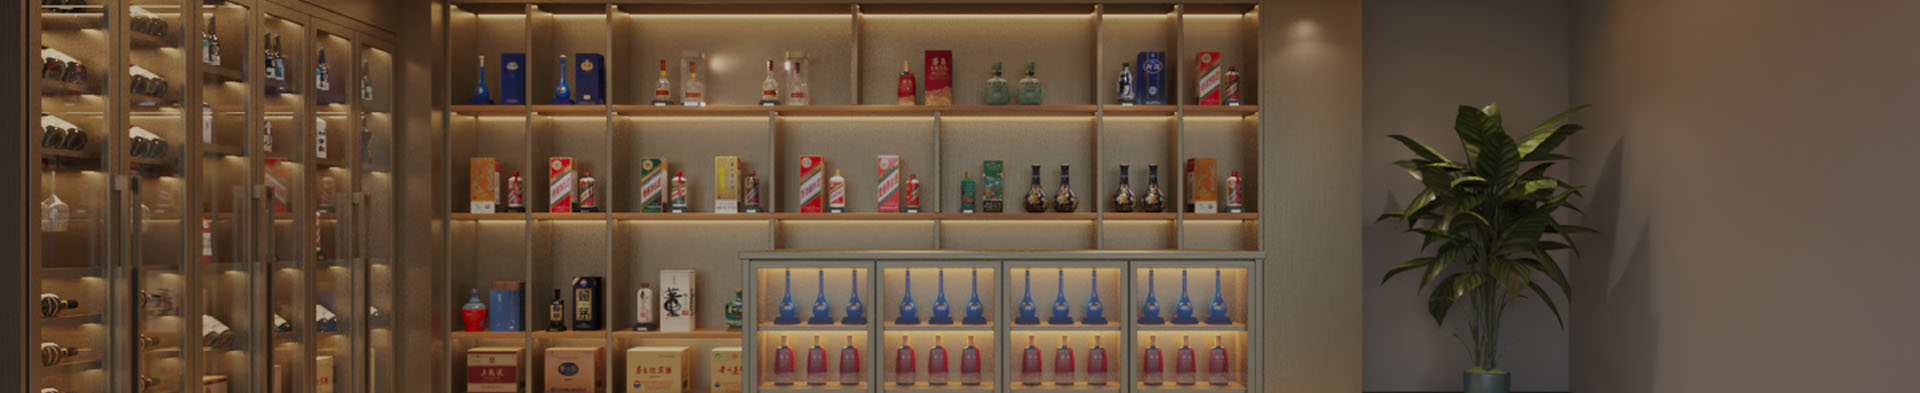
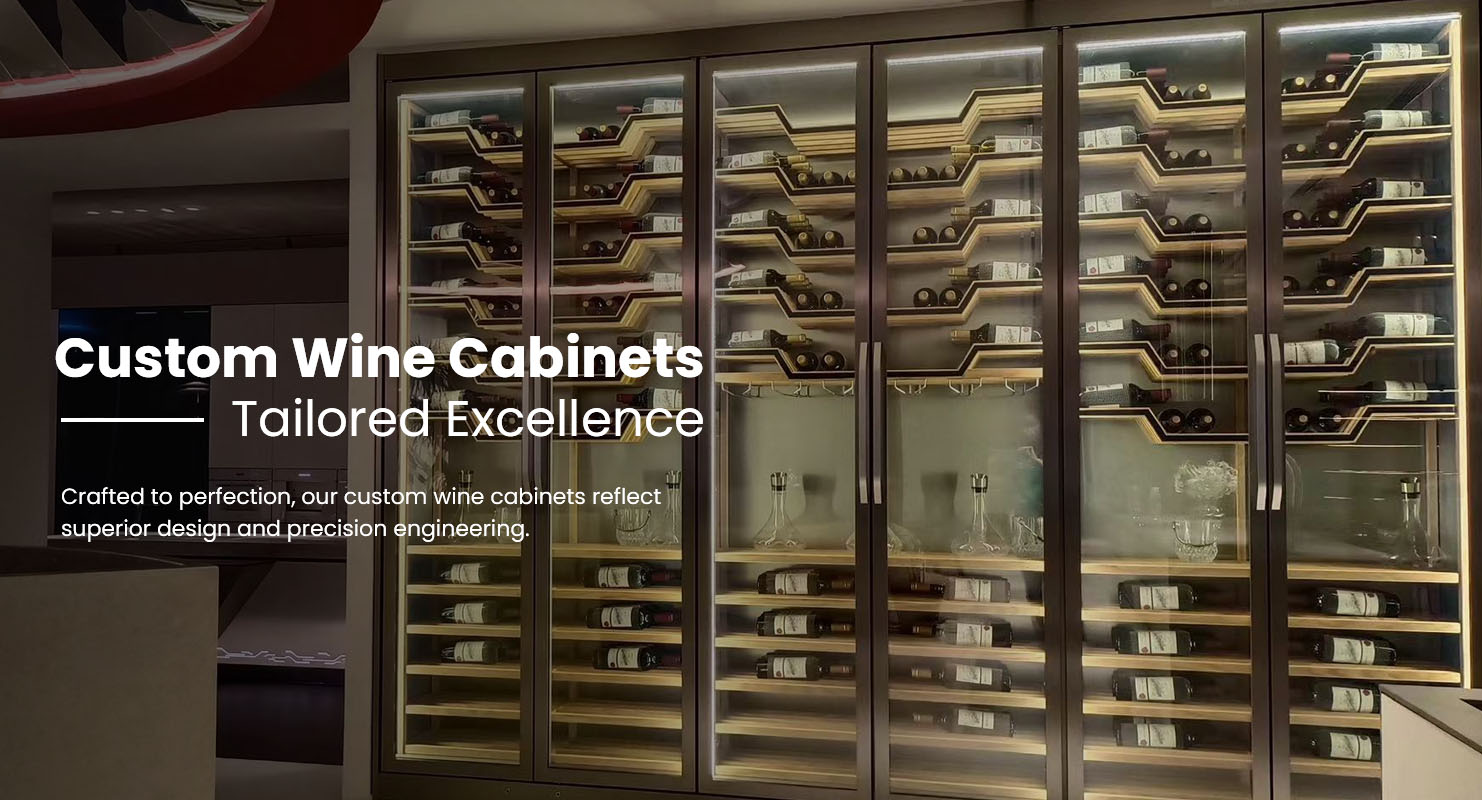
How To Build A Custom Wine Cabinet
Understanding the Purpose of a Custom Wine Cabinet
A Custom Wine Cabinet is designed to provide a controlled environment for storing and displaying wine. Unlike general cabinetry, it must incorporate structural strength, thermal stability, proper ventilation, and the ability to integrate a cooling unit if long-term preservation is required. Building a Custom Cabinet involves careful planning, accurate measurements, and material selection to ensure both functional performance and visual appeal.
Step 1: Determine Location and Cabinet Size
Measure the Installation Space
Before starting construction, identify where the cabinet will be installed—kitchen, dining area, bar space, or living room. Measure width, height, depth, and available ventilation space. Built-in locations need precise dimensions to ensure a seamless fit.
Consider Ventilation Requirements
A wine cabinet with a cooling unit requires proper airflow. Decide whether the cabinet will use front, rear, or bottom ventilation. Insufficient ventilation can cause overheating and reduced cooling performance.
Evaluate Ambient Conditions
Temperature and humidity of the surrounding area affect cooling efficiency. Indoor, climate-stable environments are ideal for cabinet installation.
Step 2: Choose the Cabinet Structure and Materials
Select a Strong Frame
The frame supports shelving, bottles, and the cooling system. Common materials include engineered wood, hardwood, or metal structures, depending on design preference.
Insulate the Cabinet
If the cabinet includes cooling, insulation is essential to maintain stable internal temperature. Use insulation panels and install a proper vapor barrier to prevent moisture leakage.
Choose the Door Style
Options include solid doors, glass doors, or full-view display doors. If glass is used, select insulated and UV-protected glass to prevent light exposure.
Step 3: Plan Internal Shelving and Storage Layout
Determine Bottle Capacity
Decide how many bottles the cabinet should store. Plan space for standard bottles and include flexibility for larger bottles such as champagne or special formats.
Select Racking Materials
Shelving can be made from:
Wood racks
Metal or mixed-material racks
Pull-out shelves for easier access
The shelf configuration should support bottle weight and minimize movement.
Design for Multi-Zone Storage (Optional)
If storing both red and white wines, consider separate temperature zones. This requires dividing the cabinet interior and planning airflow paths accordingly.
Step 4: Integrate the Cooling Unit
Match Cooling Capacity to Cabinet Volume
Select a cooling unit sized appropriately for the cabinet’s internal volume. Underpowered systems cannot maintain stable temperature; oversized systems cycle too frequently.
Create Ventilation Channels
Cooling units require intake and exhaust airflow. Plan vent placement depending on whether the cabinet is freestanding or fully built-in.
Install the Cooling System
Mount the cooling unit securely in its designated compartment. Seal gaps to prevent air leakage and ensure smooth internal circulation.
Step 5: Seal and Finish the Interior
Apply Vapor Barriers and Sealants
Correct sealing prevents moisture escape and protects surrounding cabinetry or walls. This step is crucial for long-term performance.
Install Interior Finishes
Common finishes include hardwood panels, metal liners, or composite materials. Choose finishes that complement home décor while providing durability.
Add Lighting
LED lighting enhances visibility and presentation without generating excessive heat. Popular lighting choices include vertical LEDs or top-mounted diffused lighting.
Step 6: Install the Exterior Panels and Doors
Fit Doors Precisely
Ensure the door seals tightly to maintain stable temperature and humidity. Soft-closing hinges improve user experience and reduce vibration.
Add Decorative Elements
Handles, trim, and frame details complete the cabinet design. Choose styles that match the surrounding architecture.
Step 7: Test Functionality and Climate Stability
Temperature Calibration
Run the cooling unit until it stabilizes at the desired setting. Check for fluctuations and ensure the internal airflow is balanced.
Humidity Monitoring
If humidity is important for your wine collection, confirm that the cabinet maintains suitable moisture levels.
Vibration and Noise Check
Ensure the cabinet operates quietly and without noticeable vibration. A stable, well-mounted cooling system contributes to proper wine aging.
Step 8: Final Adjustments and Bottle Loading
Adjust Shelving Height
Configure rack placement to accommodate various bottle sizes. Ensure shelves slide smoothly if using pull-out designs.
Gradual Loading
Introduce wine bottles gradually to avoid sudden temperature changes. Once loaded, monitor cabinet performance over several days.
Summary: Key Principles for Building a Custom Wine Cabinet
Building a custom wine cabinet requires careful planning, proper insulation, structural integrity, and precise integration of a cooling unit. A successful cabinet provides:
Stable temperature and humidity
Adequate bottle storage
Strong structural support
Elegant visual presentation
Quiet and efficient climate control
When built correctly, the cabinet offers long-term wine preservation and enhances the aesthetic value of any residential or commercial space.