
How To Design A Wine Cellar
Designing a wine cellar is about function first, aesthetics second. A successful cellar protects wine through stable temperature and humidity, blocks light, minimizes vibration, and organizes bottles for long-term aging and easy access. Below is a clear, step-by-step framework you can use for residential or commercial projects.
Step 1: Define the Purpose and Capacity
Start with how the cellar will be used.
Storage goal: short-term enjoyment or long-term aging
Bottle count: current inventory plus 25–40% growth
Wine mix: reds, whites, sparkling, or mixed
Access: daily access vs deep storage
These decisions determine room size, racking style, and cooling capacity.
Step 2: Choose the Location
Pick a space that supports stability.
Best locations
Basement or lower level
Interior room away from exterior walls
Under-stairs space
Avoid
Kitchens and laundry rooms
Attics and garages without full insulation
Areas with strong sunlight or vibration
Location affects insulation needs and operating cost.
Step 3: Set Environmental Targets (Non-Negotiable)
Wine needs consistent conditions.
Temperature: 12–16°C (54–61°F)
Humidity: 50–70%
Stability: minimal daily or seasonal swings
Design choices must support these targets before anything else.
Step 4: Insulation and Sealing
Insulation is the foundation of cellar performance.
Insulate all walls and ceiling
Install a vapor barrier on the warm side
Use a solid-core or insulated door with tight seals
Seal all penetrations for wiring or ducts
Poor insulation leads to constant cycling and wine damage.
Step 5: Select the Cooling System
Choose cooling based on room size and heat load.
Options
Through-the-wall units for very small cellars
Ductless split systems for quiet, precise control
Ducted systems for hidden equipment and larger rooms
The system must be designed for wine storage, not general air conditioning.
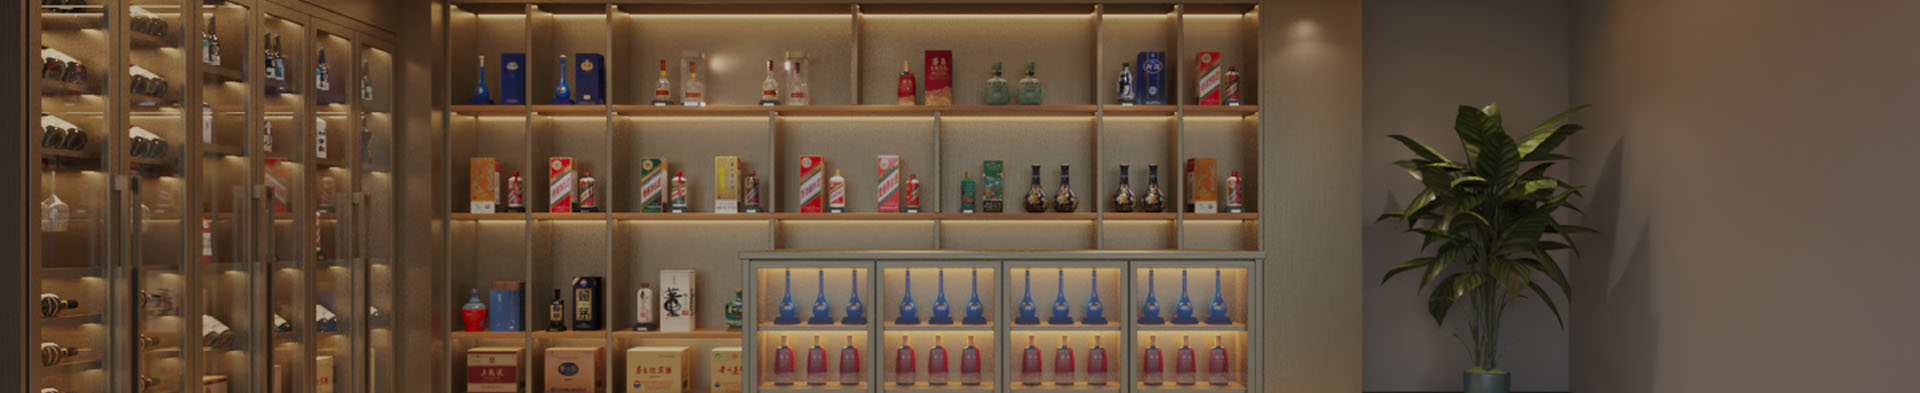
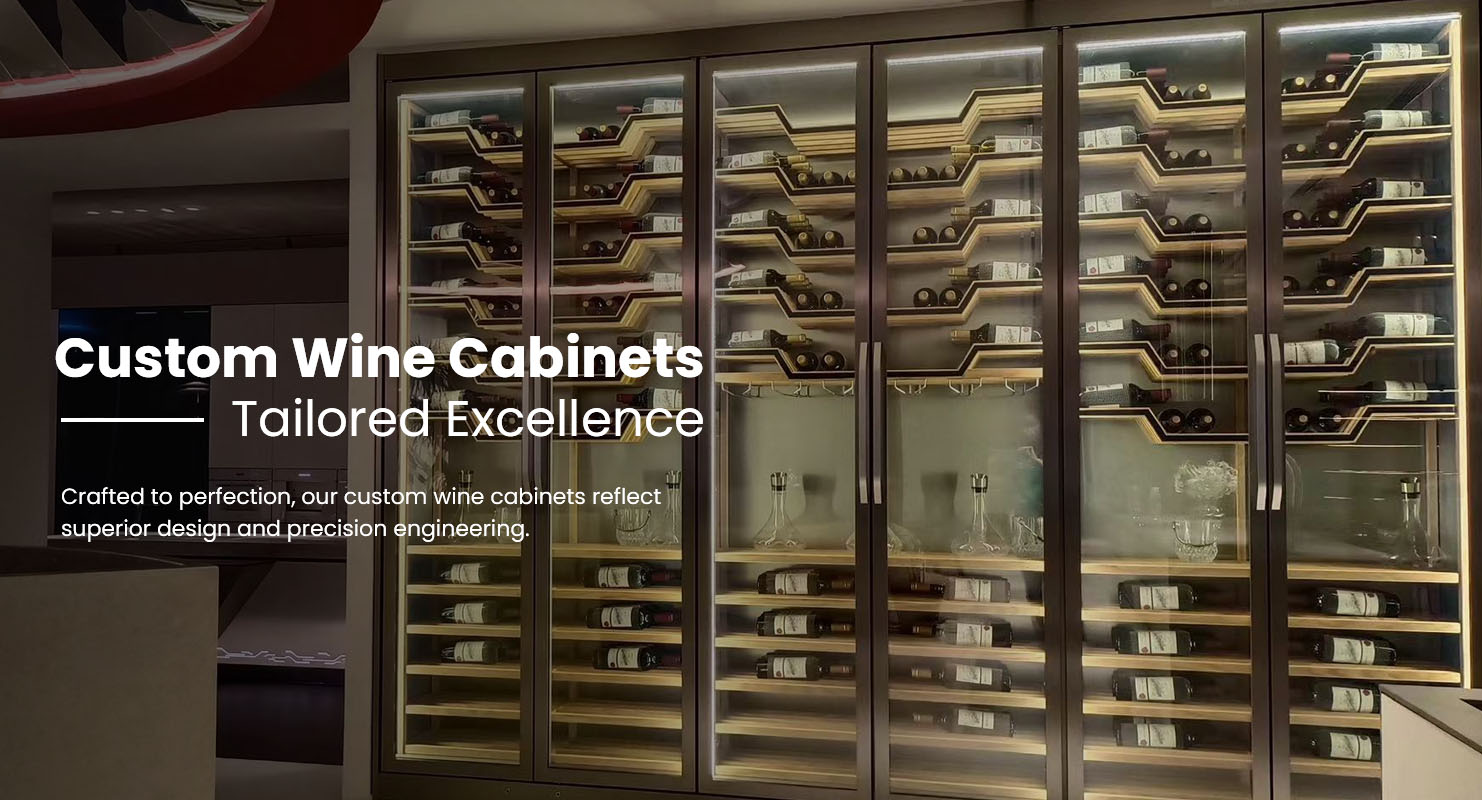
Step 6: Plan the Racking Layout
Racking determines capacity, airflow, and usability.
Design principles
Store bottles horizontally
Allow airflow around racks and cooling vents
Separate daily-access bottles from long-term storage
Use label-forward displays sparingly
Plan aisles and reach height to avoid overcrowding.
Step 7: Manage Light Carefully
Light degrades wine over time.
Eliminate natural light
Use low-heat LED lighting only
Avoid UV and continuous lighting
Lighting should highlight bottles briefly, not heat the room.
Step 8: Control Humidity
Cooling systems remove moisture.
Target 55–65% as a practical midpoint
Ensure the cellar is well sealed
Add a dedicated humidifier if humidity stays below 50%
Avoid over-humidifying, which causes condensation and mold.
Step 9: Reduce Vibration and Noise
Vibration disrupts sediment and aging.
Avoid proximity to machinery or heavy traffic
Secure racks firmly to walls or floor
Isolate cooling equipment where possible
Quiet, stable environments support proper maturation.
Step 10: Add Monitoring and Controls
Monitoring protects your investment.
Digital thermometer and hygrometer
Place sensors away from vents
Check readings periodically
Advanced monitoring is helpful for valuable collections.
Step 11: Test Before Stocking
Before placing wine inside:
Run the cellar empty for 7–14 days
Confirm temperature and humidity stability
Inspect seals and airflow
Do not load bottles until conditions are consistent.
Common Design Mistakes to Avoid
Designing for looks before performance
Underestimating insulation needs
Oversizing or undersizing cooling systems
Using standard room air conditioners
Ignoring humidity control
These mistakes cause long-term wine damage and higher operating costs.
Design Checklist
Defined capacity and growth plan
Stable temperature and humidity targets
Full insulation and vapor barrier
Wine-specific cooling system
Proper racking and airflow
Low-heat lighting
Monitoring in place
Conclusion
To design a wine cellar correctly, prioritize environmental control, insulation, and stability, then build the layout and aesthetics around those fundamentals. A well-designed cellar preserves wine quality, supports long-term aging, and remains efficient and reliable over time.
If you want, you can share:
Room size and location
Target bottle capacity
Climate zone
I can help you refine the layout, cooling choice, and cost range for your specific project.