
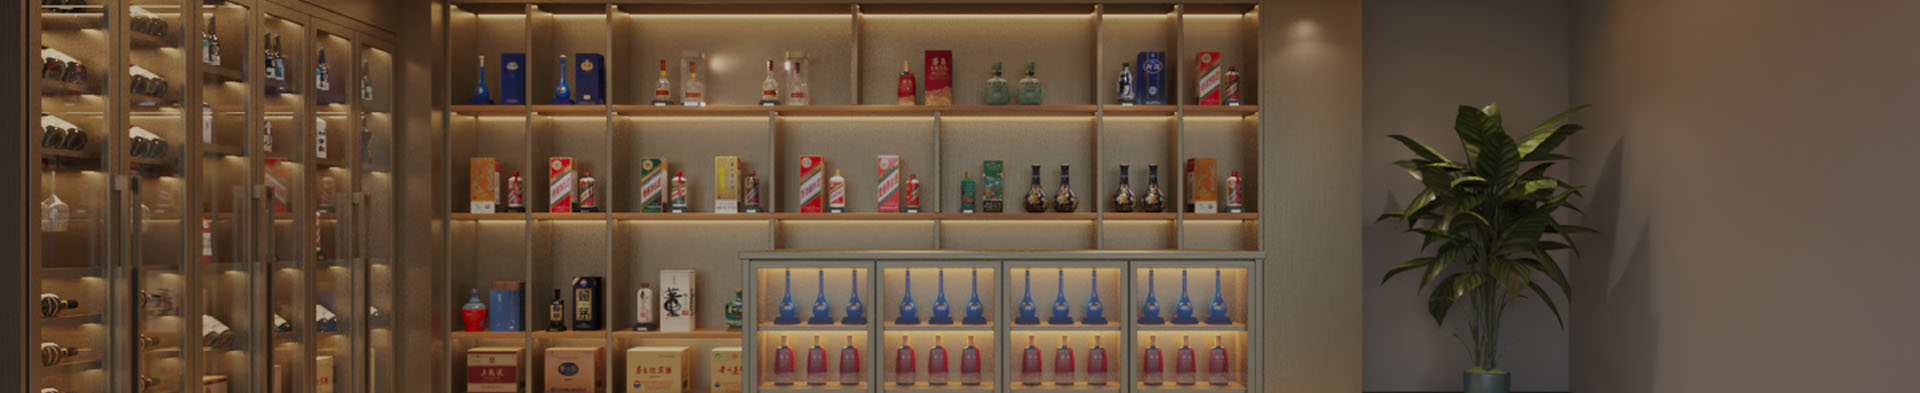
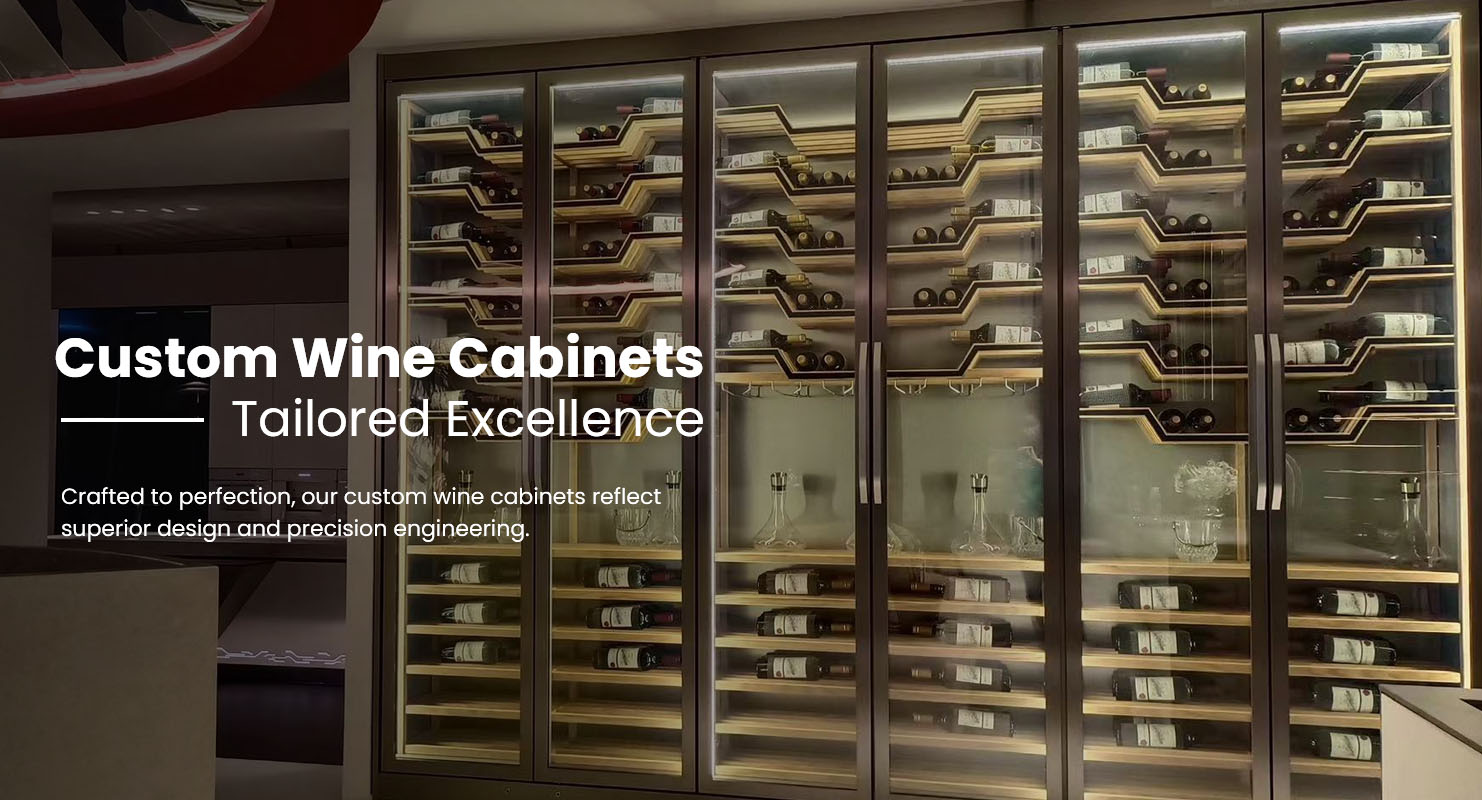
How To Build A Wine Cooler Cabinet
A Wine Cooler cabinet is a stylish and practical way to store and display wine at the perfect temperature. Whether you want to build one around a freestanding cooler or design a custom refrigerated cabinet, careful planning ensures both functionality and elegance.
1. Define the Purpose and Design
Before you begin, decide:
Will this be a built-in cabinet (integrated into kitchen furniture) or a standalone piece?
Are you housing an existing wine cooler unit or creating a fully insulated refrigerated cabinet?
Do you want shelving for bottles only, or space for glasses and accessories as well?
Design goals:
Maintain stable temperature (10–18 °C).
Allow ventilation around the cooling unit.
Match your interior style (modern, rustic, or stainless-steel professional).
2. Gather Materials and Tools
Materials
Plywood or hardwood panels (18–25 mm thick)
Insulation foam (if using refrigeration)
Back panel with vent cutouts
Metal or wood wine racks
Hinges and magnetic latch (for doors)
Ventilation grille
Wood screws, glue, sealant
Paint, veneer, or varnish finish
Optional: LED strip lighting
Tools
Tape measure and pencil
Circular saw or table saw
Drill and screwdriver
Level and square
Sandpaper or sander
Clamps
3. Measure the Wine Cooler
If you’re building a cabinet around an existing electric wine cooler, start by measuring:
Height, width, and depth of the unit
Ventilation clearance required (usually 2–4 inches / 5–10 cm on each side)
Door swing space
Make sure your cabinet dimensions leave at least:
5 cm clearance on each side
8–10 cm behind for exhaust and power cable
2–3 cm at the top
4. Build the Cabinet Frame
Step 1: Cut and Assemble Panels
Cut panels for the base, sides, top, and back according to your measurements.
Use screws and wood glue to secure the structure.
Reinforce corners with brackets for durability.
Step 2: Add the Bottom Platform
If your cooler is heavy, install a reinforced base with extra support beams or cross braces.
Step 3: Attach the Back Panel
Drill ventilation holes or cut out a slot for airflow behind the cooler.
5. Provide Ventilation and Insulation
For electric wine coolers:
Keep open vents at the back and bottom.
Avoid sealing the cooler inside airtight cabinetry; trapped heat can shorten compressor life.
For fully insulated wine cabinets:
Line the inside with thermal insulation foam and vapor barrier film.
Use weatherstripping around doors for tight sealing.
Proper ventilation ensures your wine cooler maintains consistent temperatures with minimal power usage.
6. Add Wine Racks and Shelves
If you’re including open bottle storage:
Use horizontal racks with grooves to hold bottles securely.
Maintain a slight tilt (5°) for cork moisture if storing long-term.
Choose hardwood, chrome, or stainless-steel finishes for durability.
You can also mix:
Pull-out shelves for easy access.
Fixed grid shelves for display.
7. Install Lighting (Optional but Recommended)
Soft LED lighting adds visual appeal and helps you read wine labels.
Use warm white LEDs (2700–3000 K) to mimic natural cellar ambiance.
Mount lights along the top interior or sides.
Always choose low-heat LEDs to avoid temperature fluctuation.
8. Finishing Touches
Sand and finish wood surfaces with varnish or veneer to match your décor.
Add a front door with glass or solid wood.
Install soft-close hinges for a premium touch.
If freestanding, attach leveling feet or casters.
9. Connect and Test
If housing a powered wine cooler:
Slide the unit gently into the cabinet.
Check that air vents are not blocked.
Plug into a grounded socket.
Let it run for several hours and verify the temperature stays stable.
10. Winton Wine Cooler Integration Tip
If you’re using a Winton Wine Cooler, most models are front-vented and built-in compatible — meaning you can safely integrate them into cabinetry without overheating.
Advantages of Winton units:
Dual-zone cooling for red and white wines.
Low-vibration compressors ideal for built-in cabinets.
Brushed stainless-steel doors to match modern furniture.
Compact ventilation design, minimizing space requirements.
Their efficient airflow system allows flush installation with minimal clearance, perfect for custom wine furniture projects.
11. Maintenance and Care
| Task | Frequency | Purpose |
|---|---|---|
| Dust vents and condenser | Every 3 months | Prevent overheating |
| Check door seals | Every 6 months | Maintain insulation |
| Wipe interior | As needed | Keep air pure for storage |
| Inspect rack joints | Yearly | Prevent loosening or vibration noise |
✅ Summary
To build a wine cooler cabinet:
Plan your design — built-in or freestanding.
Measure precisely for proper ventilation.
Build a strong frame from wood or metal.
Include airflow, insulation, and lighting.
Integrate a reliable wine cooler unit, such as Winton’s front-vented models.
The result is a functional and elegant cabinet that keeps your wines stored at optimal temperature — with a professional appearance suited for any kitchen, bar, or dining area.
Custom craftsmanship meets cooling precision — that’s the art of the perfect wine cabinet.
Previous: How To Buy A Wine Cooler